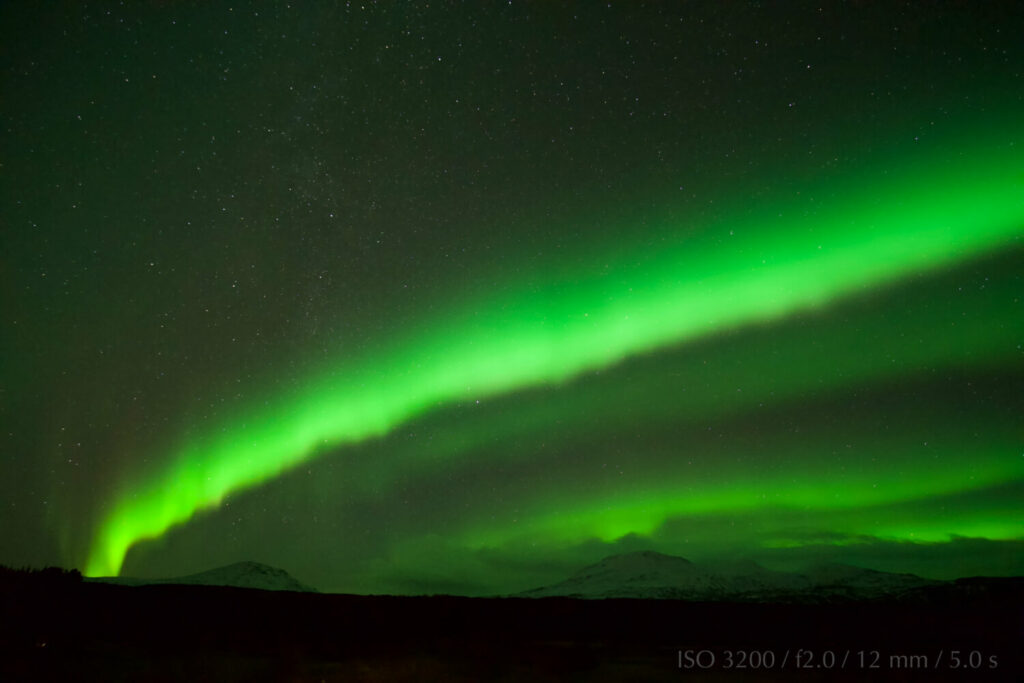
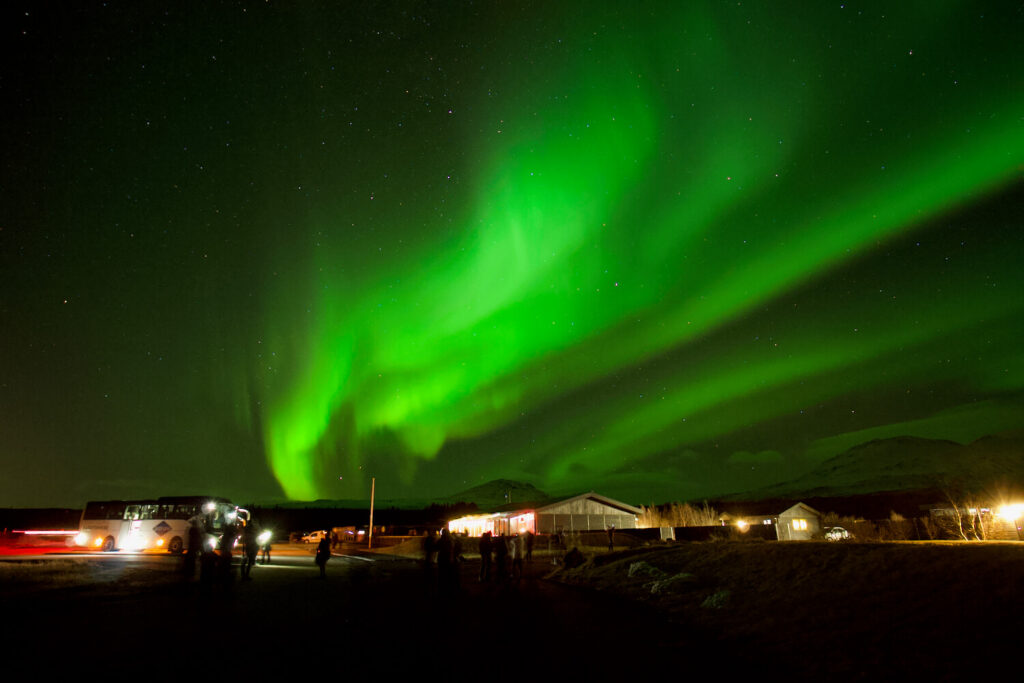
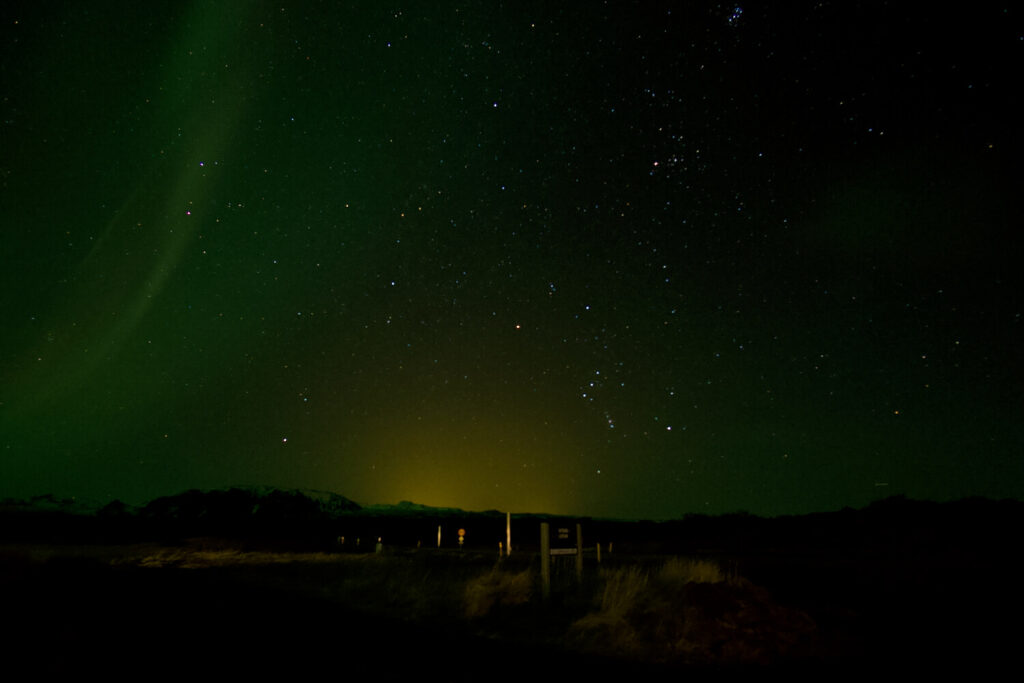
Northern lights photography on Iceland
The Northern Lights are one of the most fascinating natural spectacles and are on almost everyone’s bucket list. Most people want to see the colorful lights dancing across the night sky live at some point in their lives. And that’s exactly what originally prompted us to visit this rough island in the Arctic Ocean in winter. On Iceland, the dark months of the year, between October and March, offer the highest chances to marvel at the Aurora borealis, the Northern Lights.
A few weeks before our trip, we followed the course of the aurora via the Aurora Forecast App. Especially if you want to chase the colored lights on your own, it is recommended to take a look at the forecast of the app in order to find places with the highest probability for the appearance of the lights. Because it is not quite that simple to be successful in the search for lights.
Iceland’s Northern Lights – An Interplay Between Man, Nature and Technology
First of all, the weather has to cooperate. If it is very cloudy, raining or even snowing, you will have no luck. Certainly, the place where you want to see the lights should also be as dark as possible. If it is at least partly clear, the lights must be visible at the predicted location. Here, you may have to plan a few hours of waiting time and definitely check locations with the highest probability in the app beforehand or ask local tourist information for the predictions.
If all the variables from above come together, the question now arises: How do I capture these magical moments? Because simply pulling out your iPhone and shooting doesn’t work very well, unfortunately. To put it better: You won’t be able to capture the images you have in your head that way. For the perfect photo, which is really not easy to get, you need not only luck and patience, but also a certain preparation and the appropriate equipment.
Advantage through technology
When taking pictures of the aurora borealis, it is primarily the lens and the correct interaction of the following camera settings that matter: Aperture, Exposure Time and Focus. The camera should be operable in a manual mode where you can modify all of these settings independently. Since slow shutter speeds between 5 and 30 seconds may be required, we strongly recommend bringing a tripod to get sharp images. Also, the camera should have a self-timer function. This will save you the unsightly “wobble” at the beginning when you press the shutter button. We recommend taking the pictures in RAW format. The files will be insanely large, but you’ll be more flexible in editing them later and get nicer results.
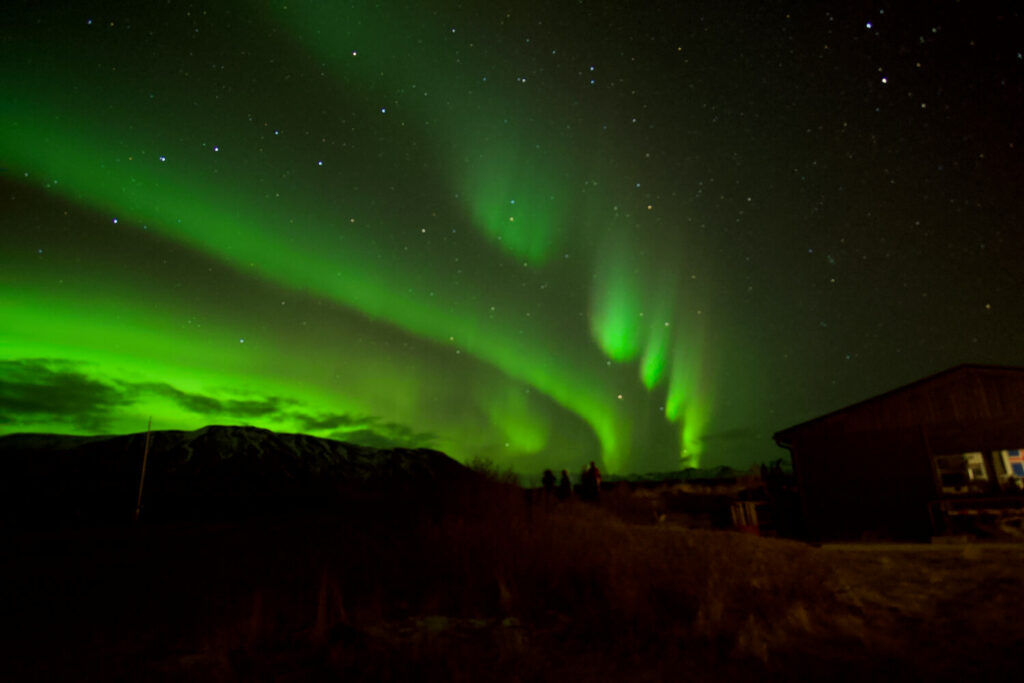
As you can see, the image is not quite sharp. It is a good example of how sensitive the camera is in these conditions. At this point the wind was whipping so hard that unfortunately it was impossible to get sharp pictures.
Here is all the information again compressed and supplemented by the equipment and settings we used to get the images shown. Although it should be mentioned here that the images for the blog were exported in jpeg format and had to sacrifice some quality::
Equipment:
-
- Camera with manual mode. We used a Sony Alpha 6000.
- Wide-angle lens where you can set the focus to ∞ (infinity). We purchased the Samyang AF 12mm F2.0 E ultra-wide-angle lens for the Sony Alpha. A great, high quality lens from South Korea with an unbeatable price/performance ratio.
- Tripod. We have the Rollei C5i tripod. It’s lightweight but still stable, making it the perfect travel companion.
- Memory card with enough space. RAW files require a lot of memory. A picture in RAW format has about 25 MB.
- Spare batteries: It will be cold. This wears down the battery and can cause it to discharge faster.
Specifically, here are the camera settings we used:
-
- Image format: RAW. JPEG also works, but takes away from the editing options.
- Aperture: f2.0 / fixed focal length 12mm. The rule here is to have the aperture as wide open as possible (i.e. a small f value).
- Focus: Set manually to ∞.
- ISO: As low as possible, as high as necessary depending on aperture and shutter speed. If the ISO is too high, the images will be coarse-grained. In our case: at 2-15 seconds shutter speed, we used ISO 800-3200.
- Shutter speed: Here it depends strongly on the movements of the aurora and the “light pollution” in the surroundings. In our setting we exposed between 5 and 10 seconds.
- And the most important thing: NO FLASH!
Trial and error
Take your time and try to adjust the settings shown above. There is not ONE setting that will magically produce the perfect image for you, as natural influences will always create different environmental conditions. But it is so worth it! In the first week of January, we spent about 2 hours in the icy wind and were simply impressed by this natural spectacle. For us this January night will remain unforgettable.
Besides the technical equipment, don’t forget to wrap up warmly with hat, scarf and gloves, and maybe take a hot drink with you.
Iceland offers a variety of other natural spectacles besides the aurora borealis and is also a culinary highlight. Read what you shouldn’t miss here.
